How to Set Up a New Nintendo Switch OLED the Right Way
It’s time to get your Nintendo Switch up and running. We’ll also show you how to move information from an old Switch.
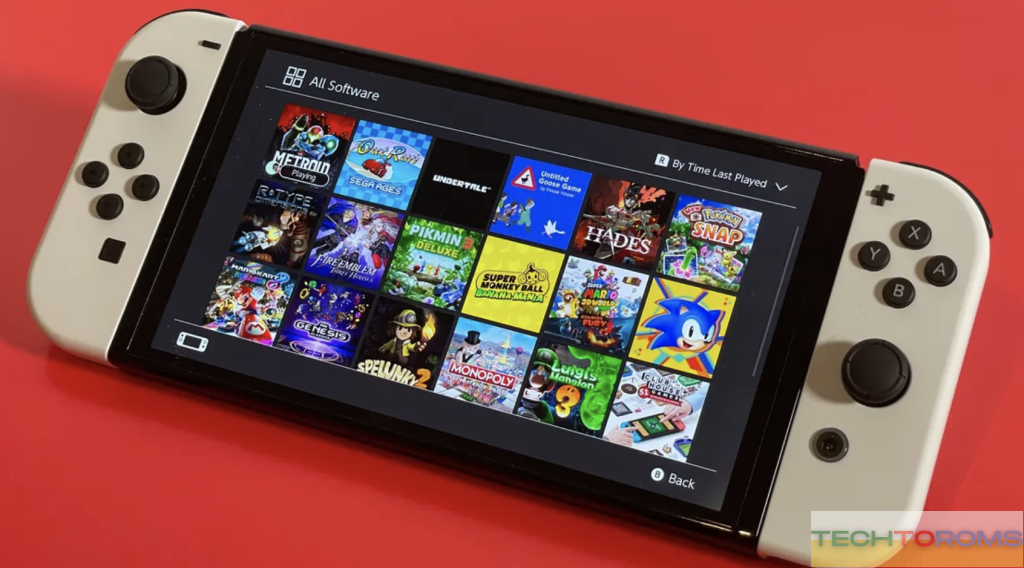
It’s time to turn on the new Nintendo Switch and set up your account information and game data after opening the box and admiring the gorgeous display on an OLED model. I’ve noticed that out-of-the-box Switches generally have enough charge to get started, so you should be able to begin right away.
After pressing the power button for the first time, you’ll see a brief Nintendo Switch introduction video. Then it’s on to the setup questions. The language option is first, with 12 distinct options. Following that is your region: either America, Europe, Asia, or wherever else. Finally comes Nintendo’s End User License Agreement, which you should read if you wish to use your system.
The Wi-Fi connection is next. The Switch does not have a LAN input, unlike the Xbox Series and PS5, although the new OLED Switch version of the dock does. This is in comparison to the original console, which did not include a port and necessitated players to buy a USB-to-LAN adapter if they wanted to connect via Ethernet wirelessly.
The next screen lets you choose your time zone. You’ll see not just the different zones, but also the cities and regions within each one, so select the one that is nearest to you.
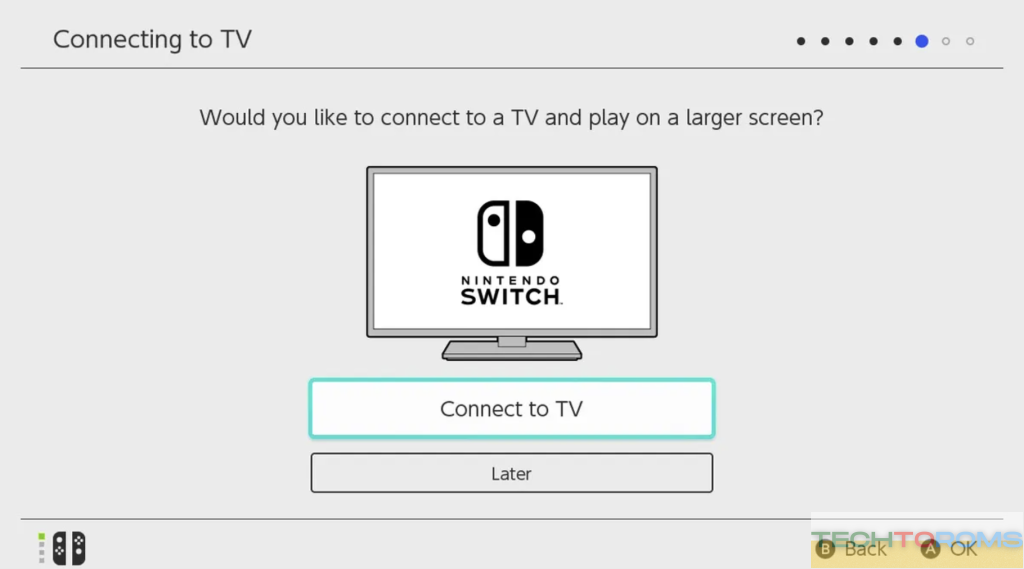
The first skippable option in this Switch OLED setup is connecting the console to a TV. Because the Switch can play on a television or in handheld mode, you may test the link between your dock and television. However, if you want to use your dock without a television nearby or don’t have one near by, it’s acceptable to skip this for now. I’m more of a handheld gamer than one who plays on their TV screen.
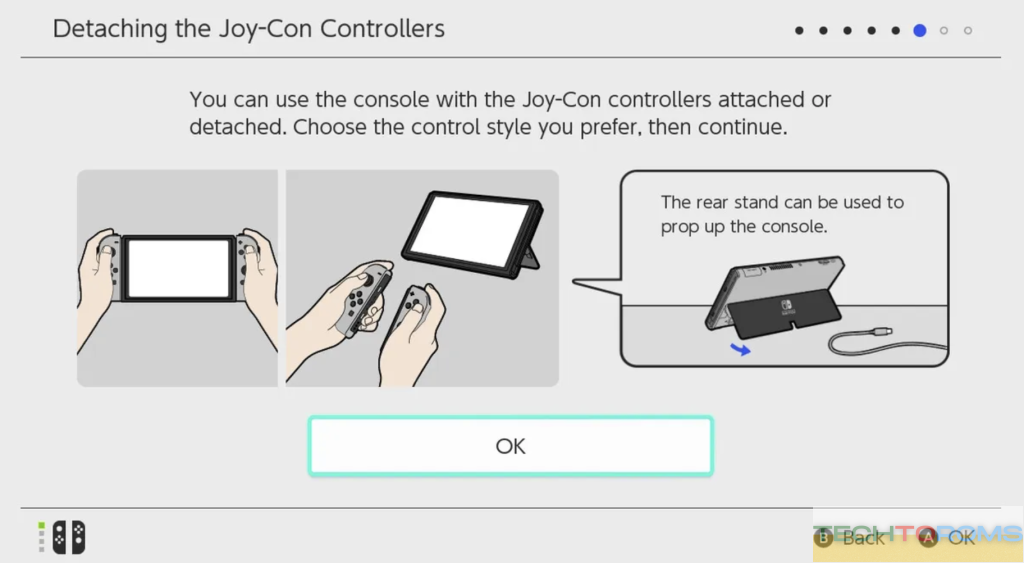
The guide will tell you to switch the Joy-Cons off and on again, but this time with both connected. The following screen will urge you to disconnect the Joy-Cons in order to access the subsequent area. Only two of your initial three Joy-Cons can be checked here. If you want to connect more, you’ll have to wait until later.
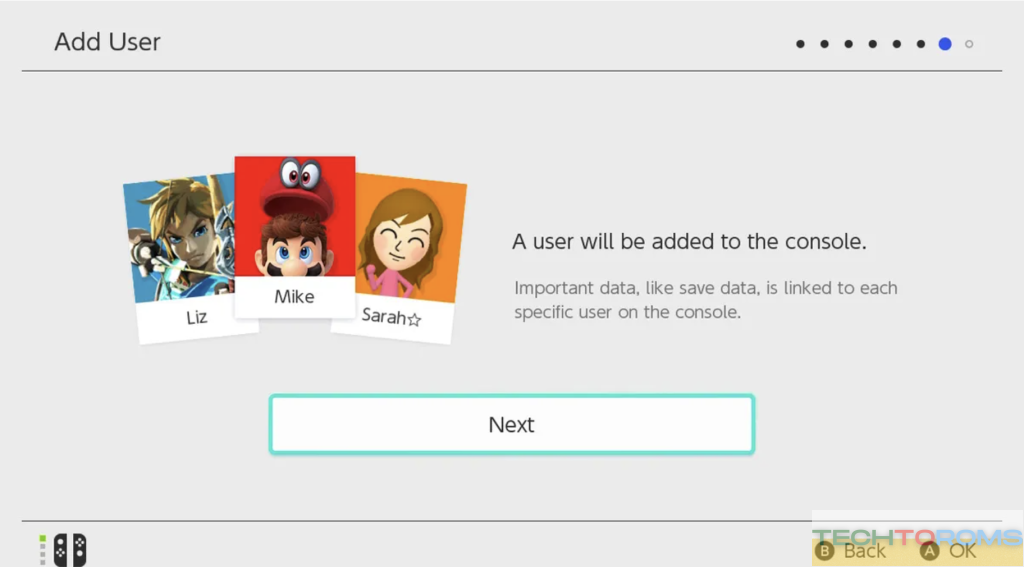
After that, you’ll either be asked to create a user account or sign in as one. This is especially crucial since game ownership, saved games, and other data will all be linked to this account. If you’re using a Switch for the first time, you’ll have to create an account. After the primary user has logged in, additional users can be added immediately or at a later date if others are going on the switch with you.
If you have one or two Switches, the process may be slightly different from that described in this guide if you only have one. It will be considered the device with which you started off. If you want to keep two devices, this is the nonprimary console for you. Later on, if you wish, you can reverse the hierarchy of consoles.
Both Switches may download purchased games from the Nintendo eShop and play them as long as the consoles are online, but only one of them can play downloaded digital games. If a console is unable to connect to the internet, it will be unable to play purchased digital items. I propose keeping the Switch OLED solely for handheld usage while retaining the older Switch connected to the TV in my strategy, which reflects what others have said about having two Switches.
It’s back to the setup. Nintendo Switch newbies will be asked if they want to join up for Nintendo Switch Online, a yearly subscription that allows online gameplay and cloud saves as well as retro Nintendo games. This isn’t required, but it is necessary if you want to play Mario Kart 8 online. Then there are parental controls that allow parents to regulate how long their children spend with the system and which games they’re allowed to play. You can also use Nintendo’s parental control software on iOS or Android to cut off the fun remotely.
That concludes the initial setup for first-time Switch users.
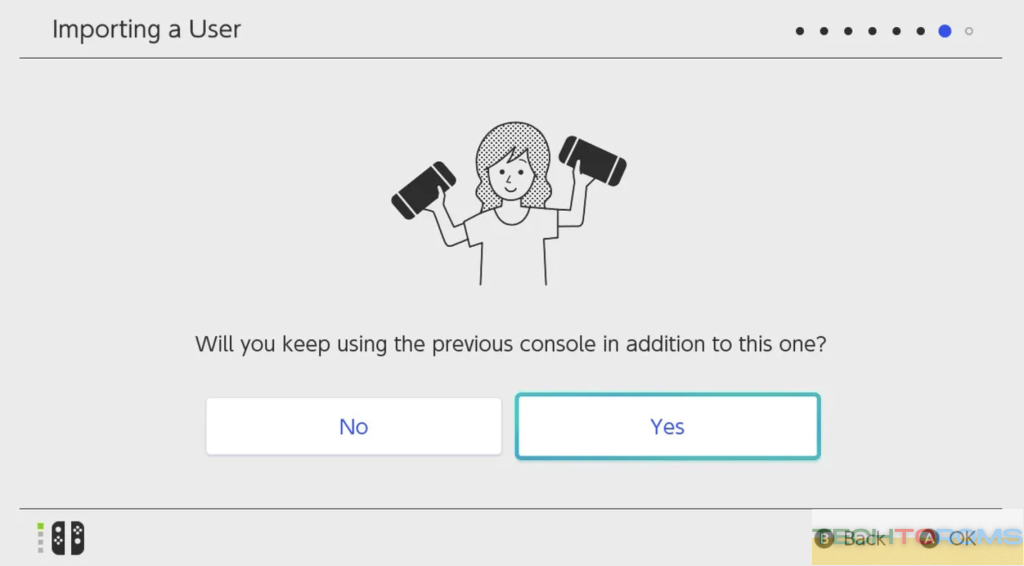
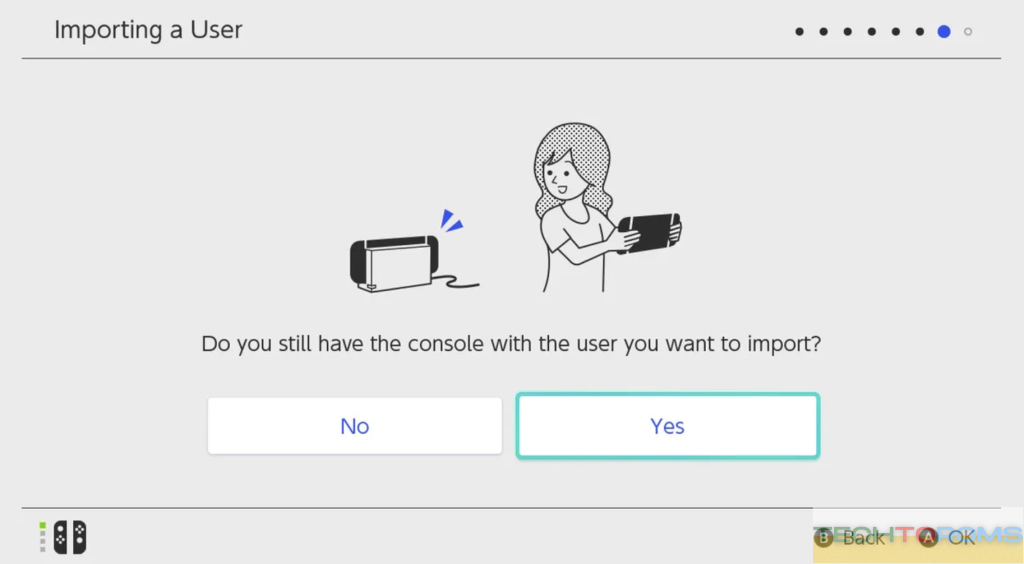
Switch users who already own a Switch, on the other hand, can select “Import user data from another console” to continue. The next page will ask if you still have your old Switch console with the user data or not. It will also inquire whether you wish to keep both consoles. It’s significantly more convenient if you can respond in the affirming manner to both questions.
Then comes linking your account. You’ll probably have to perform a system update before you can connect it. Of course, you would. The Switch will download the most recent system firmware and operating system updates from the internet, then begin installation. After that, the system shall restart automatically.
After the restart, you’ll be back at the Nintendo account login screen. This is where you may access your account using an email address, sign-in ID, or a QR code on your smartphone. The QR code allows you to visit the Nintendo account page through a browser, and I found this to be considerably easier than entering my information on the Switch’s tiny on-screen keyboard. You’ll then get a confirmation code that you must return to the Switch and enter after logging in with the browser. Isn’t it simple? Right?
If you’re performing a Switch-to-Switch transfer, you’ll be booted to the Switch Online and parental controls setup screens after it’s completed.
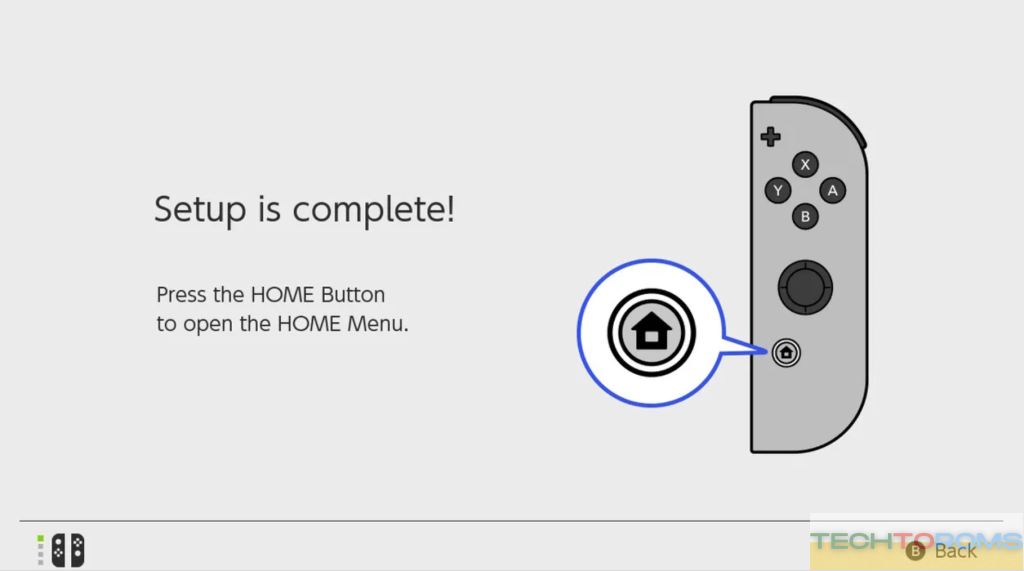
That’s all there is to it. After that, return to the Home screen and start exploring your new Switch OLED. Read CNET’s Scott Stein’s review to learn why he thinks it’s the best Switch yet, or check out our recent Nintendo news.
